Glass Stairs with Decorative Etched Design I Palace of Glass PGB135
$1.00
Description
Creating Elegant Decorative Glass Stairs with a Marble Textured Look
Introduction: Welcome to our channel! Today, we’re thrilled to showcase our latest masterpiece: decorative glass stairs featuring a stunning textured look that resembles marble. These elegant stairs add a touch of sophistication and luxury to any space, making them a standout feature in modern interior design. In this video, we’ll explain how we achieved this intricate marble texture on glass, the process of painting and laminating the glass units, and the essential requirements for constructing durable and safe glass stairs. Let’s get started!
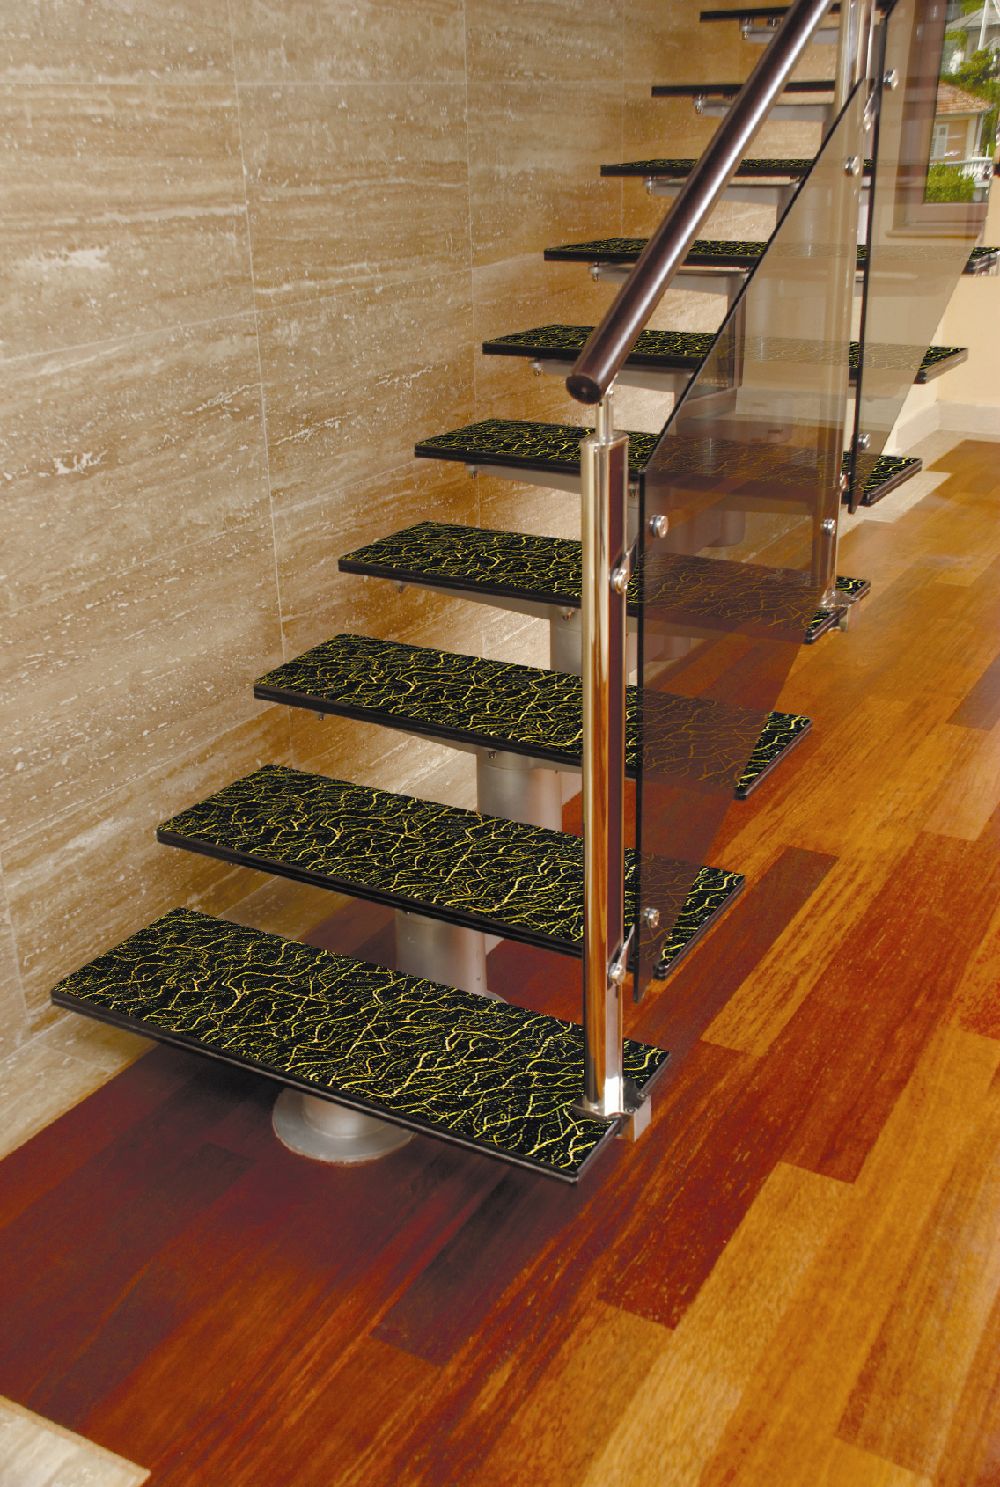
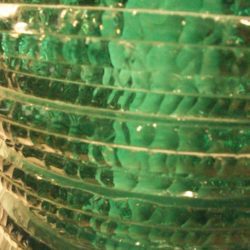
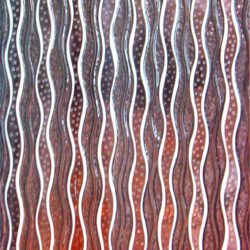
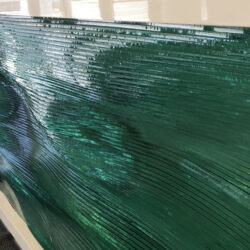
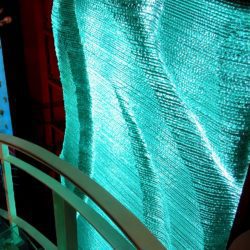
Finished Product Overview: Here you see our finished decorative glass stairs with a marble textured look. The intricate design and smooth finish create a captivating visual effect, blending the transparency of glass with the timeless elegance of marble. These stairs are not only aesthetically pleasing but also durable and safe, making them an ideal choice for contemporary interiors.
Materials Used: To create these exquisite glass stairs, we used the following materials:
- Clear glass sheets (cut to the required size for each stair unit)
- Acid or sandblasting equipment for etching
- High-quality paint designed for glass
- Clear epoxy resin or PVB (Polyvinyl Butyral) film for lamination
- Safety gloves and goggles
- Measuring tape
- Clamps
- Silicone adhesive
- Steel or aluminum frame for supporting the stairs
The Process: Let’s dive into the detailed process of creating these decorative glass stairs with a marble texture.
Step 1: Selecting and Preparing the Glass: We began by selecting high-quality clear glass sheets. The thickness of the glass depends on the specific requirements and load-bearing capacity needed for the stairs. Typically, glass for stairs should be at least 10-12mm thick to ensure safety and durability.
Each glass sheet was then cut to the precise dimensions required for each stair unit. This step is crucial to ensure a perfect fit and seamless look once the stairs are assembled.
Step 2: Etching the Marble Texture: To create the marble texture, we used an acid etching or sandblasting technique. Both methods are effective in achieving a detailed and intricate design on the glass surface.
Option 1: Acid Etching:
- We applied a protective stencil with the marble pattern onto the glass surface.
- Acid was then carefully applied to the exposed areas of the glass, etching the marble design into the surface.
- After the desired texture was achieved, the acid was neutralized and the glass was thoroughly cleaned.
Option 2: Sandblasting:
- A stencil with the marble pattern was applied to the glass surface.
- Sandblasting equipment was used to blast fine particles onto the exposed glass areas, creating a textured marble effect.
- The stencil was then removed, and the glass was cleaned to reveal the intricate design.
Step 3: Applying Paint Over the Texture: Once the marble texture was etched into the glass, we applied high-quality paint designed specifically for glass surfaces. The paint was chosen to mimic the natural colors and veins of marble.
- We carefully painted the etched areas, ensuring even coverage and highlighting the intricate details of the marble texture.
- Multiple layers of paint were applied to achieve the desired depth and richness of color.
- After painting, the glass was left to dry completely before proceeding to the next step.
Step 4: Laminating the Glass Units: To enhance the strength and safety of the glass stairs, we laminated the painted glass sheets. This process involves bonding multiple layers of glass together using clear epoxy resin or PVB film.
Option 1: Using Clear Epoxy Resin:
- We applied a thin, even layer of clear epoxy resin on one glass sheet.
- Carefully placed the painted and textured glass sheet on top, ensuring perfect alignment.
- Gently pressed down to remove any air bubbles and ensure a smooth bond.
- Applied another layer of epoxy resin on top of the painted glass sheet.
- Placed a final glass sheet on top, completing the lamination.
- Clamps were used to hold the layers together while the resin cured according to the manufacturer’s instructions.
Option 2: Using PVB Film:
- We placed a PVB film on the base glass sheet.
- Laid the painted and textured glass sheet on top, ensuring perfect alignment.
- Applied another layer of PVB film on top of the painted glass sheet.
- Placed the final glass sheet on top, completing the lamination.
- Clamps were used to hold the layers together.
- Heated the glass layers in an oven or using a heat gun to bond the PVB film, following the manufacturer’s instructions for temperature and duration.
Step 5: Assembling the Glass Stairs: Once the laminated glass units were ready, we assembled the stairs using a sturdy steel or aluminum frame. This frame provides the necessary support and stability for the glass stairs.
- We applied silicone adhesive to the edges of each glass unit.
- Carefully positioned each glass step onto the frame, ensuring they were level and evenly spaced.
- Allowed the silicone adhesive to cure according to the manufacturer’s instructions.
Requirements for Glass Stairs: When constructing glass stairs, several key requirements must be met to ensure safety, durability, and structural integrity:
- Glass Thickness: The glass used for stairs should be thick enough to support the expected load. Typically, 10-12mm thick tempered or laminated glass is recommended.
- Edge Treatment: The edges of the glass should be polished to prevent injuries and ensure a smooth finish.
- Slip Resistance: The surface of the glass steps should be treated or textured to provide slip resistance, enhancing safety.
- Support Structure: A strong and stable support structure, such as a steel or aluminum frame, is essential to hold the glass steps securely in place.
- Compliance with Building Codes: Ensure that the glass stairs comply with local building codes and regulations for safety and structural integrity.
Conclusion: And there you have it – a detailed overview of how we created these elegant decorative glass stairs with a marble textured look. This intricate process involves etching, painting, and laminating glass sheets to achieve a stunning and durable result. These stairs not only elevate the aesthetic appeal of any space but also offer enhanced safety and structural integrity.
We hope this explanation has inspired you to explore the possibilities of using glass in innovative and creative ways. If you enjoyed this video, please give it a thumbs up, subscribe to our channel, and hit the notification bell to stay updated with our latest projects. Feel free to leave any questions or comments below – we’d love to hear from you. Thank you for watching, and happy crafting!
